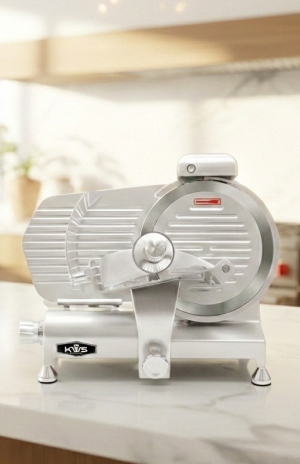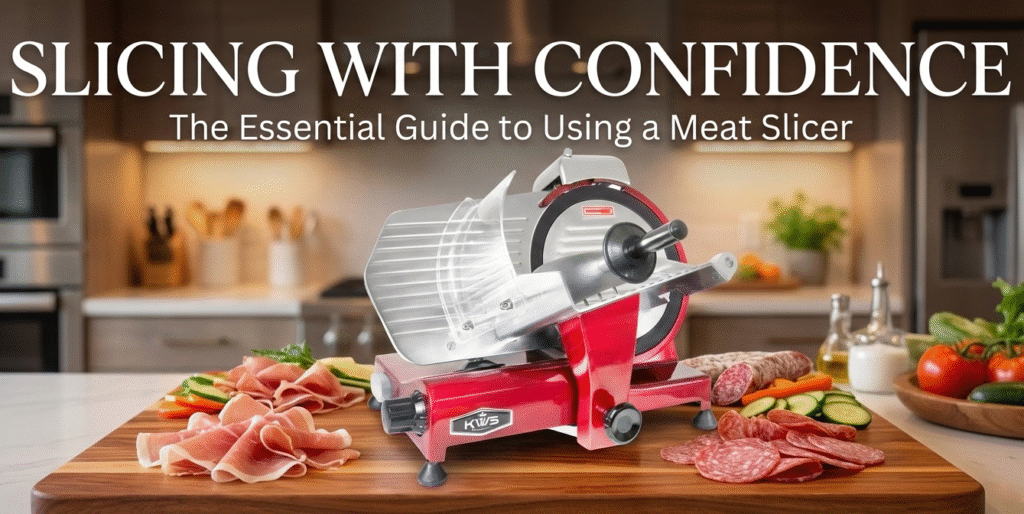
A quality meat slicer is the secret weapon of any deli, butcher shop, or serious home chef. It unlocks the ability to achieve perfect, customized cuts of meat, cheese, and even vegetables, saving you money and elevating your culinary results.
But let’s be honest: the powerful blade can be intimidating. At KWS KitchenWare Station, our goal is to turn that intimidation into absolute confidence. This ultimate guide will walk you through the entire process, from crucial safety checks to achieving the perfect slice thickness, ensuring you maximize the lifespan and performance of your KWS slicer.
Safety First: The Golden Rules of Slicer Operation
Safety is paramount. Before you learn how to use a meat slicer, you must internalize these three critical rules. Following them prevents injury and ensures your KWS slicer remains in top condition.
- Rule #1: The Power Rule. Always, without exception, unplug the slicer before cleaning, lubricating, sharpening, adjusting the blade, or removing any parts. Simply turning the power switch off is not enough.
- Rule #2: The Hand Guard Rule. Never, ever use your bare hand to push product toward the blade. Always use the provided food pusher, handle, or end weight. Never reach across the blade while the machine is running.
- Rule #3: The Zero-Lock Rule. When the machine is not in use (even for a short break), always return the thickness adjustment knob to the ‘Zero’ setting. This retracts the blade behind the gauge plate, preventing accidental contact.
- Pro Tip: Wear Protection. While operating and cleaning, we strongly recommend using cut-resistant gloves on your non-slicing hand for an extra layer of defense.
Prep Work: Why Temperature Matters
The secret to perfectly uniform slices isn’t just technique—it’s temperature.
| Product | Ideal Prep Method | Why It Works |
| Cooked Meats (Roast Beef, Ham, Turkey) | Chill in the refrigerator for at least 30 minutes, or a quick 10-15 minutes in the freezer. | Chilling makes the meat firm and prevents it from tearing, crumbling, or squishing against the blade. |
| Cheese (Firm varieties like Cheddar, Swiss) | Chill until very firm. | Slicing soft or warm cheese results in a sticky mess. Cold cheese releases cleanly from the blade. |
| Vegetables (Cabbage, Onions) | Cut down to a size that fits easily in the carriage. | For consistent cuts, ensure the product is firmly secured by the food pusher. |
❌ Never Slice Highly Juicy Foods: While you can slice most firm vegetables, avoid foods with extremely high liquid content such as tomatoes or oranges. Too much liquid can spray onto the spinning blade and potentially seep into the motor housing, causing damage over time.
❌ Also Avoid: Frozen meat (rock hard), bone-in meat, or non-food items. This will instantly damage or dull your high-quality stainless steel blade.
The 7-Step Guide to Perfect Slicing
This step-by-step guide walks you through how to use a meat slicer from the moment you turn it on until the last clean cut.
Step 1: Set Up & Check
Place the slicer on a stable, level surface. Ensure the food carriage and all safety guards are securely in place. Plug the unit in, but do not turn it on yet.
Step 2: Adjust the Thickness
Locate the thickness adjustment knob. Rotate it to your desired setting (see our guide below). Always test with a sample slice before committing to a full block of product.
Step 3: Load the Carriage
Open the product carriage and securely position your chilled product. Use the product grip handle or food pusher to pin the product firmly against the gauge plate. The firmer the product is held, the more consistent the slice will be. Remember your cut-resistant glove on the hand guiding the carriage!
Step 4: Power Up
Turn the slicer ON. Allow the blade to reach its full, consistent operating speed before you begin slicing.
Step 5: The Slicing Motion
Using the handle on the carriage, begin moving the carriage back and forth across the rotating blade.
- Use Consistent Pressure: Apply steady, gentle pressure to the product toward the gauge plate. Too much force strains the motor and results in uneven cuts.
- Maintain Rhythm: A smooth, consistent rhythm is key to uniform slicing.
Step 6: Power Down
Once the product is sliced, push the carriage back to its resting position. Turn the slicer OFF and wait for the blade to come to a complete stop.
Step 7: Zero and Unplug
Return the thickness adjustment knob to the ‘Zero’ position (Rule #3). Finally, unplug the machine from the wall outlet before retrieving the last few slices or preparing for cleaning.
Slice Thickness Guide: Shaved, Thin, Medium, & Thick
Different foods and recipes demand different slice thicknesses. While the exact dial number varies by slicer model, use this KWS guide to achieve your desired result:
| Thickness Cut | Typical Setting (Approx.) | Ideal Applications |
| Shaved | 0.5 to 1 (<= 1/16″) | Prosciutto, very tender roast beef, delicate charcuterie cuts. Creates a melt-in-your-mouth texture. |
| Thin (Deli Standard) | 1 to 2 (≈ 1/16″) | Classic turkey, ham, salami, and cheese for daily sandwiches. Provides a good pile without too much density. |
| Medium (Sandwich Cut) | 3 to 5 (≈ 1/8″) | Meaty sandwiches like Pastrami, Corned Beef, or thicker cuts for Cuban sandwiches. Ideal for paninis and grilling. |
| Thick (Dinner Cut) | 6 and Up ( >= 3/16″) | Cutting meat for stews, cubing cheese, slicing vegetables for stir-fries, or thin-cutting homemade jerky strips. |
Use this KWS guide as a starting reference only. One of the biggest advantages of owning your own slicer is the freedom to customize—allowing you to slice to any thickness your heart desires!
Beyond Meat: Slicing Bread, Cheese, and More
Your KWS slicer is a highly versatile kitchen tool! It effortlessly handles a variety of products.

Slicing Cheese: For optimal results with cheese, especially softer varieties that tend to stick, we strongly recommend using a slicer that is equipped with a stainless steel blade coated with Teflon. The non-stick surface minimizes friction and sticking, resulting in cleaner, faster slices. Remember, always slice cheese when it is well-chilled for the cleanest cuts.
Slicing Bread with Your KWS Slicer: You can absolutely use your KWS slicer to get perfectly even slices of homemade or store-bought bread—no need for a specialized serrated blade!
Important Note on Bread Slicing: The product tray on your KWS slicer is engineered primarily for meat, which requires a specific angle to guide the cut. When slicing soft or bulky items like bread, this angle may not always align perfectly, which can sometimes result in slices that are less uniform than expected.

🌟 Solution for Perfect Bread: To dramatically improve your bread-slicing experience, we recommend our Perfect Cut Bread Guide. This optional accessory is designed specifically to enhance alignment and control, ensuring you get smoother, more consistent slices every time.
👉 Shop the Perfect Cut Bread Guide Attachment for MS-6 / MS-10 Slicers
Post-Slicing: Essential Cleaning Safety and Care
Thorough cleaning and sanitizing after every use is mandatory for food safety and prolonging the life of your equipment.
Your Three Critical Safety Mandates:
- Unplug Completely: Never begin cleaning until the unit is unplugged and the blade is completely stopped.
- Zero Out: Set the thickness dial to ‘Zero’ so the gauge plate covers the blade edge.
- Wear Protection is a Must: Always wear cut-resistant gloves when handling or cleaning the blade. This is the most crucial step to protect your hands during maintenance.
For the step-by-step disassembly, washing, and sanitizing instructions for your KWS slicer, please refer to our full guide:
👉 How to Clean an Electric Meat Slicer for Food Safety and Longevity
Ready to Master Your Slicer?
A meat slicer from KWS KitchenWare Station is an investment in quality, efficiency, and customized culinary results. By prioritizing safety and mastering these simple steps, you’ll be slicing like a professional in no time!
Ready to upgrade your tools or need a replacement accessory (like cut-resistant gloves or the bread guide)?
👉 Shop our full selection of highly-rated Meat Slicers and Cutting Accessories today!
A meat slicer from KWS KitchenWare Station is more than just a piece of equipment; it’s an investment in quality, efficiency, and customized culinary results. By prioritizing safety and mastering these simple steps, you’ll be slicing like a professional in no time!
We offer a full range, from heavy-duty commercial slicer models for demanding operations to versatile domestic slicer units perfect for the home chef.
To delve deeper into our product offerings and find the ideal machine that aligns with your specific needs and specifications, contact us today. Our team is ready to assist you in selecting the perfect KWS meat slicer for your operation. Let’s get you set up for success in your culinary endeavors!